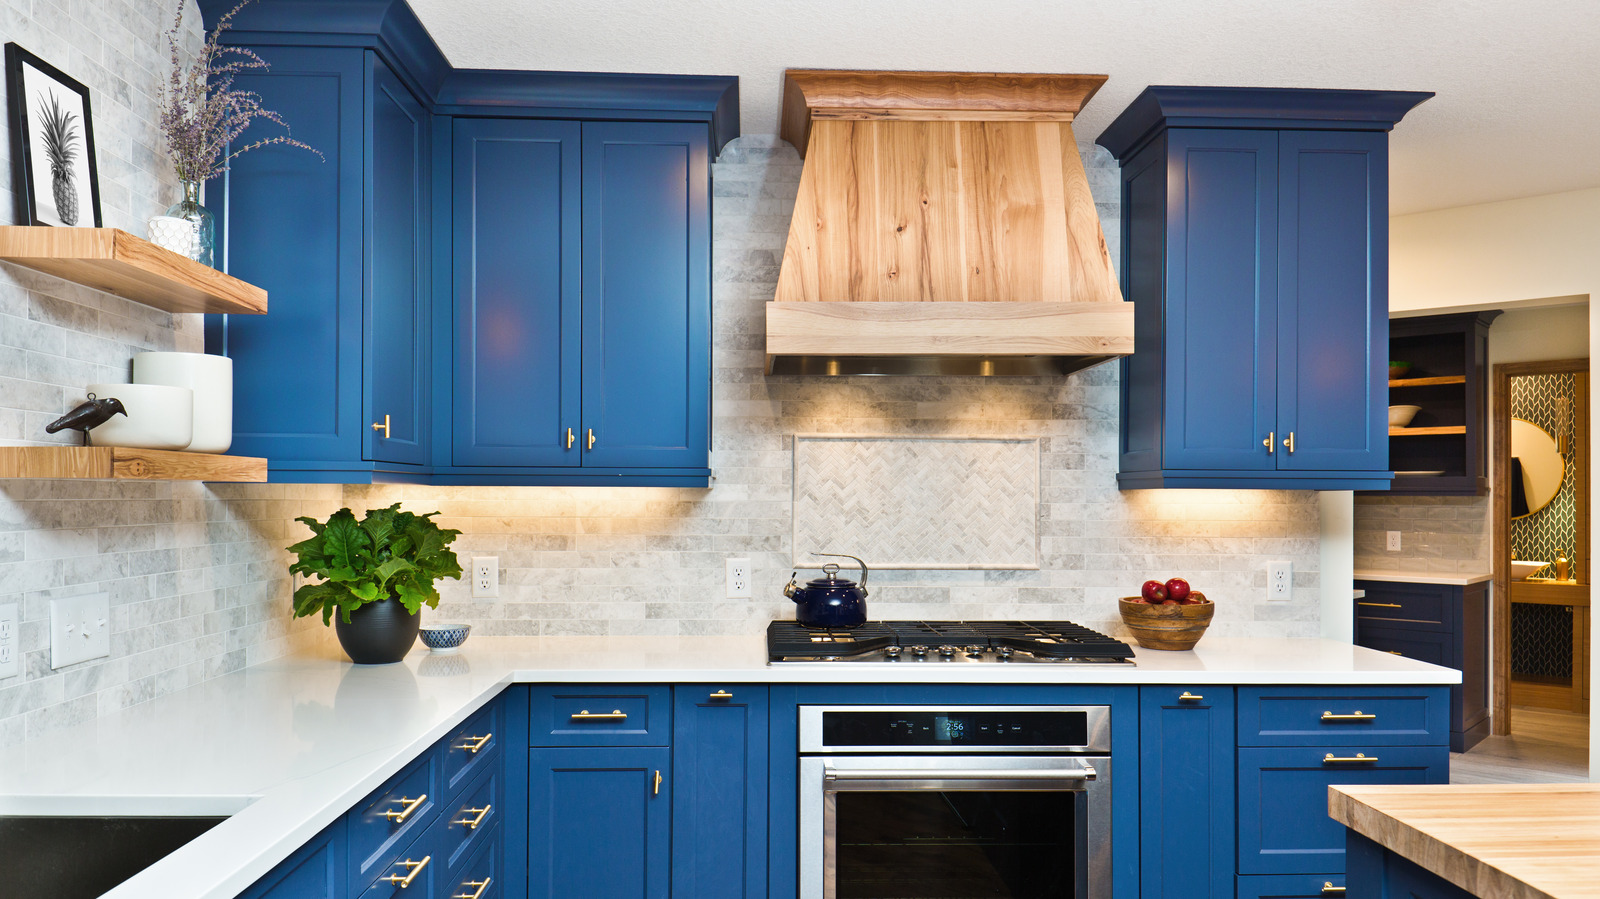
To pull off this DIY project, you only need a few basic supplies, some of which you may already have on hand. You probably will need to purchase 3/4-inch high-quality plywood for about $55 for a 4-by-8-foot piece at Home Depot. Make sure that you have paint available that matches what’s already on your kitchen cabinet doors.
If you have trim pieces at the top of the cabinets, gently remove them with a small pry bar (about $12 at Home Depot), as you’ll need to reuse them. Use a stud finder to locate the ceiling studs. If you have some leftover 2×4 pieces from a previous job, you can reuse these to attach to the studs to save money. If you need to buy wood, though, you can inexpensively purchase 1×3 furring strips (about $2.25 at Home Depot) to the studs. Leave 3/4 of an inch to attach the plywood, so it will be flush to the front face of the cabinets. Attach more 2×4 pieces or 1×3 pieces vertically and horizontally above the existing cabinets, creating a makeshift frame to which you can securely attach the plywood. Cut the plywood to fit and attach it to the frame with a brad nailer. Add the trim you removed earlier along the ceiling. You may need seam trim or paintable wood filler between the top of the cabinets and the plywood. Then paint everything to match the existing cabinet color.


